2016. július 9., szombat

Engine startup!

We always start the engine on a crane. It is much easier to deal with oil leaks and other problem while engine is outside.


This time the subframe is a bit more complicated than usually.


Last minute trouble: an engine mount gave up while standing still :-o.
Thankfully no harm to the engine.


The transmission got new bearings, seals.


Intake manifolds and wiring loom rebuild

After a good cleaning it turned out that nearly all intake manifolds are cracked. It cannot be used like that. Fortunately they were repairable.


First we cut the cracks out as deep as the went.


Used a special heat resistant 2k epoxy glue (Autoveld) to fill up the valleys.


Finally restored the mating surfaces.


Next we had some problems with the gaskets. ŰOn the top is the original, under it the new.


Later we made aour own version, to heat shield the intake manifolds.


With thi wiring, we went to extremes, using the best possible materials. We dont want it to fail.


Engine build 9.

We went on with bolting on the parts, until...


...the wiring loom came in the view. Unfortunately it was badly hardened by the many heat cycles the engine had seen. It needed a rebuild. just like the intake manifolds. I will post on them later.


Finally the air filter and the intercooler went on.


I used the 1st motion shaft to center the new clutch.


A bit of cleaning  for the injectors before building them in.


2016. április 24., vasárnap

Wastgate

The original wastegate was in quite rough condition. It needed quite a bit of work, although we managed to save it.


The valve seat was recut, a crack welded up, and the old bolts removed. I used stainless bolts now, to prevent rust seizure.


Heat distorted the mating surface. 


I skimmed it by hand.


Assembling the unit was a bit tricky, but with the right tools, nothing is impossible :-).


Engine assembly 8.

Okey, this was the hard chapter of the engine building. We bought this nice stainless steel exhaust system. A piece of art it looked... a nightmare to install it proved to be...


The exhaust port diameter was 38mms, which is a nice number, equals to 1.5inches. Unfortunately the pipes on the new exhaust had 40mm outer diameter. Culture clash :-(. The ports had to be enlarged in situation, with the greatest care not to get metal dust into the engine. A pain in the back. After enlarging the ports, we had to redrill all the six holes in the flanges, as they were slightly off-centered. Nice... 


Note the plugs in the air injection holes.


New problem... the mating surfaces were not skimmed after welding. The heat distorted and made the surface concave by 1mm :-o. 


I skimmed them :-/... and all the other couplings...


Finally I bolted the whole together, just to find out, that the curves are not correct, thus the turbo is not at its correct situation


At this point, I intended to set fire on the whole stuff, but a young Jedi appeared in the last moment and saved the day.


I took off the turbo support plate and altered its shape. Giving the final "touches" in situation. I am affraid, that the Muffler will also need a bit of modification :-(.

Engine Assembly 7.


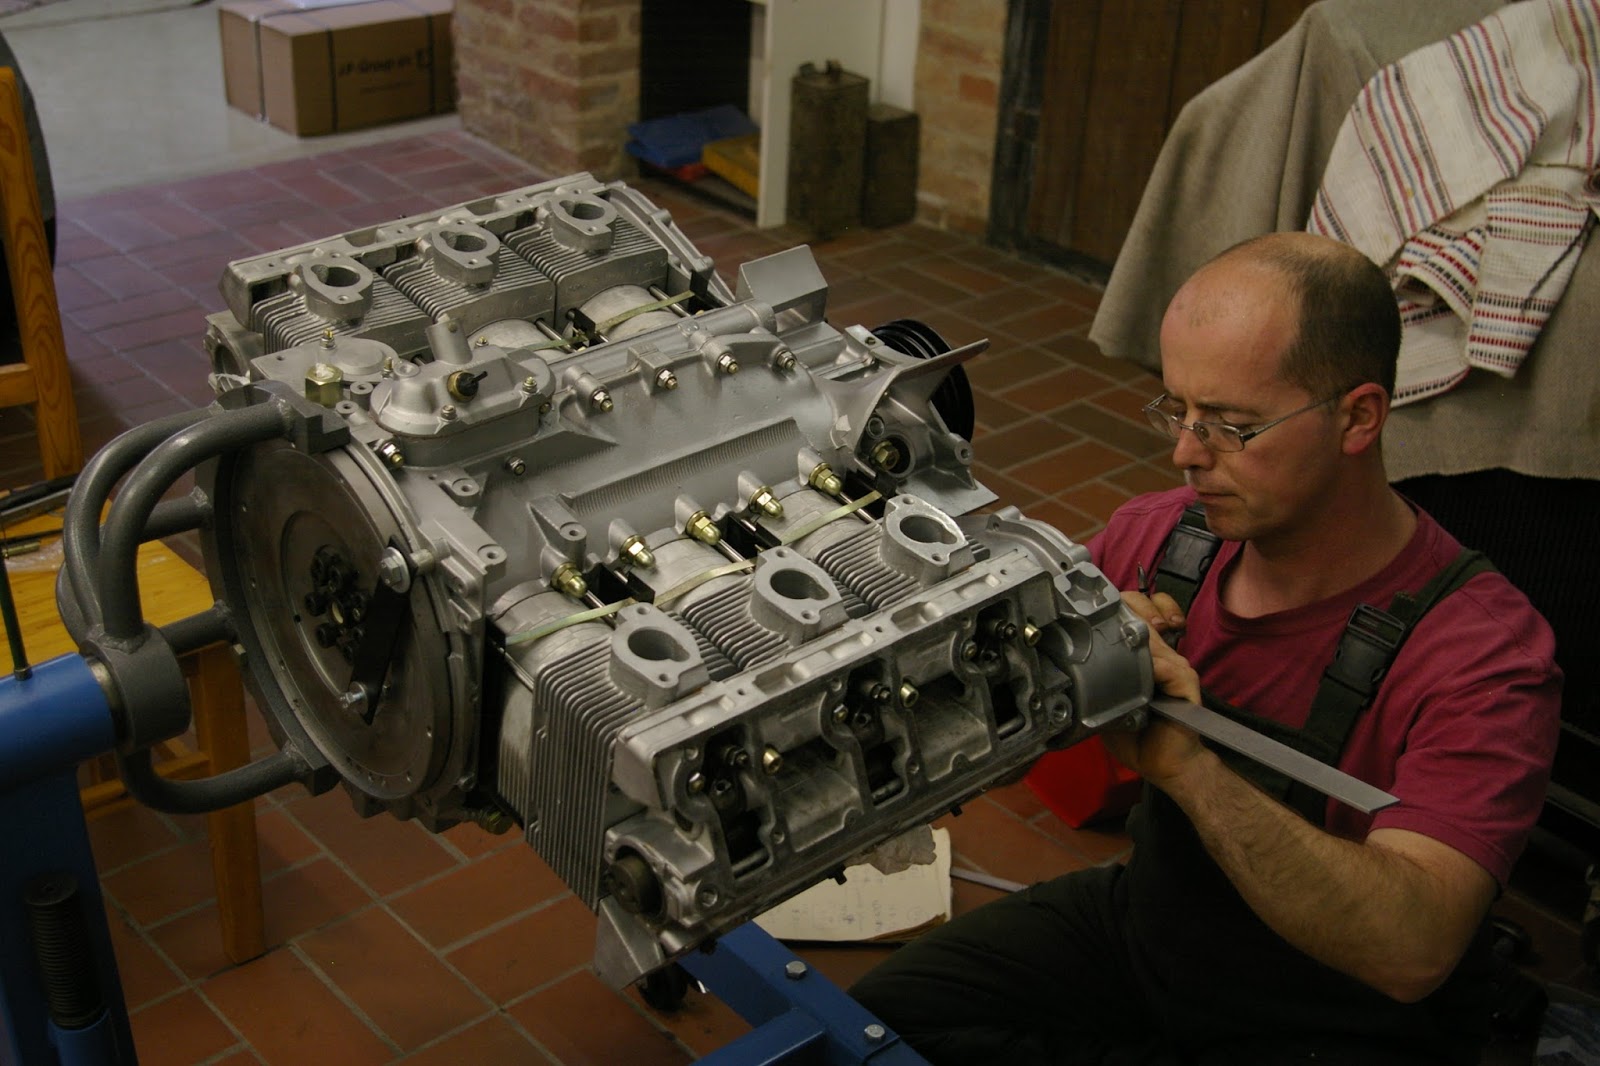
With the carefully selected parts, the top of the engine was ready to bolt together. Here I applied a bit of sealing compound, and later some anti seize lube on the bolts, before torquing down the head bolts.


We had some problems while installing the rocker shafts. Even with extra care, the rubber o rings were cut by the edge of the casting. 


Te original rubber has square-edges.


I modified them and turned one edge down a bit. It was much easier to install them. 


Measuring the timing gear line-up was a two man job... I mean actually a one woman-and-a-man job. My one-and-only did the job perfectly. 


With the original shims modified a bit, the miss-alignment is now under 0.05mms


Setting the cam timing with 0.1mms valve gap. Note the "professional" chain tensioners :-).


New camshaft tensioner oil feeds installed. They came with blue zink plating. How ugly :-P...


... I had to replate them.


After double checking the cam timing I set the valve gaps one-by-one. 


New oil cooler.